In our previous Python project tutorial, we have explained How to Make a ChatBot using Python. In this tutorial, we will explain how to make ChatBot Project with Python and Flask.
A ChatBot is an AI based automated system that design to work without human assistance. It enables the communication between a human and a machine in both the messages and voice command.
The ChatBots are very popular and widly used for customer support, generating information, etc. The companies are using ChatBots to work as knowledge base, delivering personalized responses, and help customers complete their tasks.
In this tutorial, we will use chatterbot package to implement our ChatBot.
So let’s proceed with coding:
Project Setup
First, we will create our application directory ai-chatbot-python-flask using below command.
$ mkdir ai-chatbot-python-flask
we moved to the project direcotry
$ cd ai-chatbot-python-flask
Install Required Packages
We will install required Python packages.
We will isntall ChatterBot, a Python library that generate automated responses to user’s input by using machine learning algorithms to create chatbots.
We will install ChatterBot module using below command.
pip install chatterbot
As we will develop system using Flask, a micro framework from Python to create web application. so we will also install this using below command:
pip install Flask
Implement ChatBot
After installing required module, we will create Pythpon file chatbot.py and import required modules chatterbot and custom function file to read text file content.
from flask import Flask, render_template, request
from chatterbot import ChatBot
from TextReader import chatbotContent
As we will implement the Chatbot with List Trainer, so we will also import the chatterbot.trainers. The list trainer takes a list of statements that represent a conversation.
from chatterbot.trainers import ListTrainer
We will create our chatbot and give a name. Here I am giving the name “Chatbot”.
chatbot = ChatBot("Chatpot")
We will create ListTrainer object using our created chatbot. Then we will get convertsation text content and pass to trainer.train() function to get response data.
chatbotFile = "chatbot.txt"
trainer = ListTrainer(chatbot)
chatbotContent = chatbotContent(chatbotFile)
trainer.train(chatbotContent)
Implement Flask App and Methods
We will import Flask module.
from flask import Flask, render_template, request
We will create our Flask app.
app = Flask(__name__)
We will check for app route and create method index() to load index.html template file to dispplay ChatBot form.
@app.route("/")
def index():
	return render_template("index.html")
We will check for for route get and create method chatbot_response to get Form POST value and pass to chatbot get_response() function as per user inputted text message and returned.
@app.route("/get", methods=["GET","POST"])
def chatbot_response():
    message = request.form["message"]
    response = chatbot.get_response(message)
    return str(response)
and finally run our flask app:
if __name__ == "__main__":
    app.run()
Create Flask Template
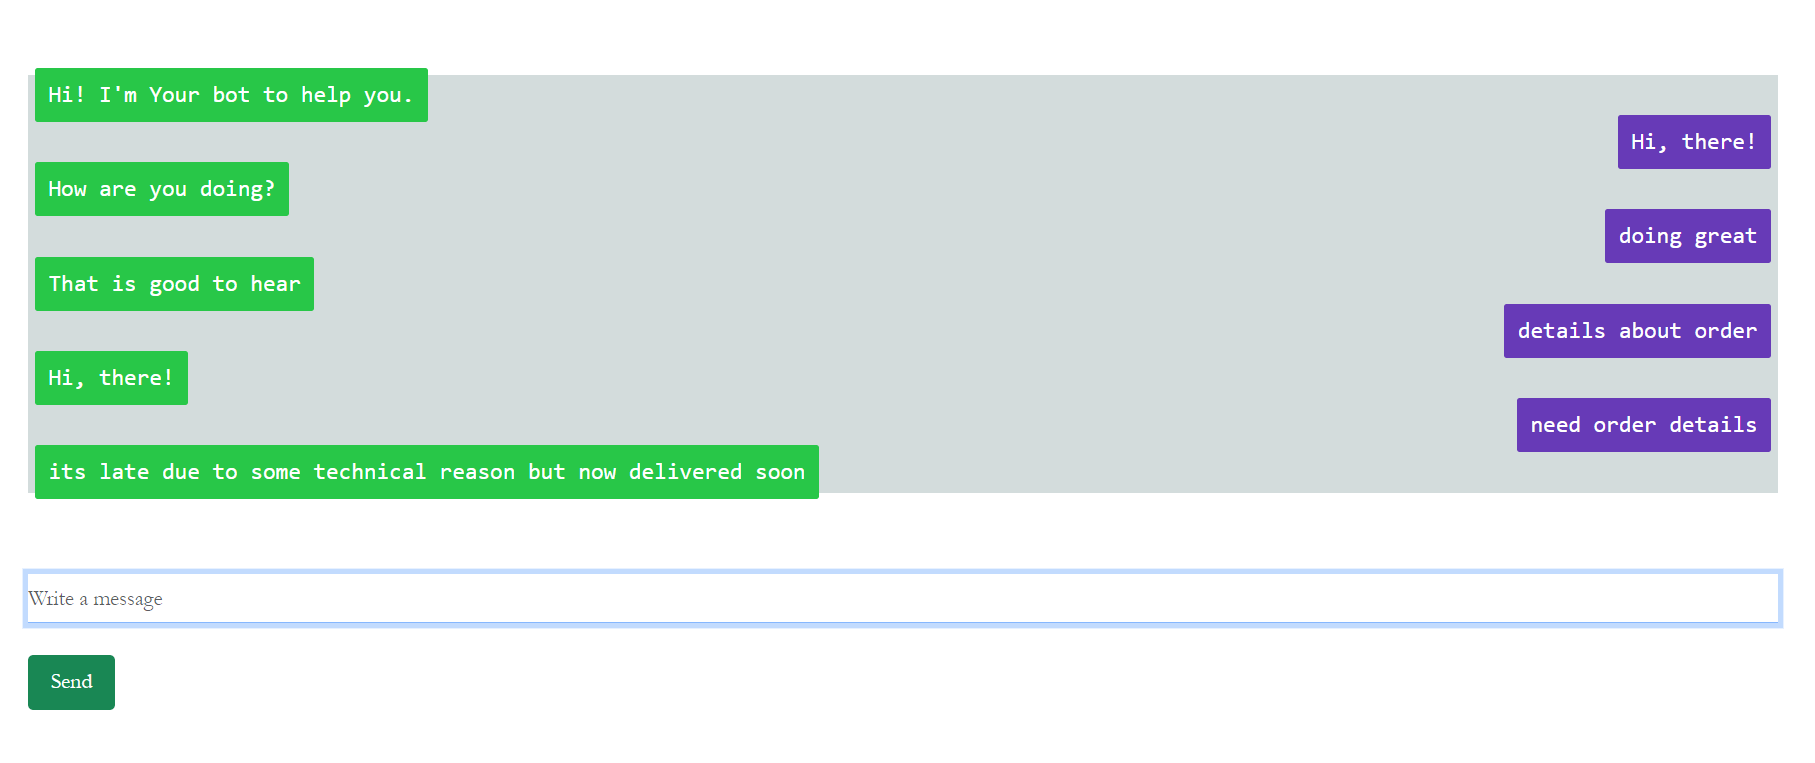
We will create templates directory and create index.html template file. We will create HTML form to send message and display response from chatbot.
<div class="container">
	<br>
	<h1>AI ChatBot using Python</h1>
	<div class="row">
		<form>
			<div id="chatbox" class="form-group">
				<p class="botText"><span>Hi! I'm Your bot to help you.</span></p>
			</div>
			<div id="messageSection" class="form-group">
				<input id="message" type="text" name="message" placeholder="Write a message" class="form-control">
			</div>
			<br>
			<button type="submit" id="send" class="btn btn-success">Send</button>
		</form>
	</div>
</div>
Handle Form Submit and display Chatbot Response
We will handle form submit and make Ajax request to send user message and get Chatbot response and display.
<script>
    $(document).ready(function() {
        $("form").on("submit", function(event) {
            var message = $("#message").val();
            var userMessage = '<p class="userText"><span>' + message + "</span></p>";
            $("#message").val("");
            $("#chatbox").append(userMessage);
            document.getElementById("messageSection").scrollIntoView({
                block: "start",
                behavior: "smooth",
            });
            $.ajax({
                data: {
                    message: message,
                },
                type: "POST",
                url: "/get",
            }).done(function(data) {
                var botAnswerHtml = '<p class="botText"><span>' + data + "</span></p>";
                $("#chatbox").append($.parseHTML(botAnswerHtml));
                document.getElementById("messageSection").scrollIntoView({
                    block: "start",
                    behavior: "smooth",
                });
            });
            event.preventDefault();
        });
    });
</script>
You can download the complete source code of project from the Download link below.