The Skeleton loading effect or shimmer effect is a common feature in modern websites. It is shown just before loading the data on page. The effect makes design more user friendly to replace conventional content loading feature.
So if you’re developing website and wants to implement Skeleton loading effect or shimmer effect, then it’s very easy. In our previous tutorial, you have learned how to build Newsletter system with PHP and MySQL. In this tutorial, you will learn how to implement Skeleton loading effect or shimmer effect with jQuery, PHP and MySQL.
We will use placeholder-loading CSS library to load Skeleton content with animation effect. So we will cover this tutorial step by step with live demo to create effect with CSS library using Bootstrap and display data with Ajax.
Also, read:
Step1: Create MySQL Database Table
First we will create MySQL database table products to store products.
CREATE TABLE `products` (
  `id` int(11) NOT NULL,
  `sku_id` varchar(50) NOT NULL,
  `category_id` int(11) NOT NULL,
  `category_name` varchar(255) NOT NULL,
  `product_name` varchar(300) NOT NULL,
  `image` varchar(300) NOT NULL,
  `price` int(11) NOT NULL,
  `brand` varchar(100) NOT NULL,
  `material` varchar(100) NOT NULL,
  `size` varchar(20) NOT NULL,
  `qty` int(11) NOT NULL,
  `created_date` datetime NOT NULL,
  `updated_date` timestamp NOT NULL DEFAULT CURRENT_TIMESTAMP ON UPDATE CURRENT_TIMESTAMP
) ENGINE=InnoDB DEFAULT CHARSET=latin1;
Step2: Include Bootstrap, jQuery and CSS Files
In index.php file, we will include Bootstrap, jQuery and CSS files. We will also include placeholder-loading.min.css library file to load Skeleton content with animation.
<script src="//cdnjs.cloudflare.com/ajax/libs/jquery/3.2.1/jquery.min.js"></script>
<link href="//maxcdn.bootstrapcdn.com/bootstrap/4.1.1/css/bootstrap.min.css" rel="stylesheet" id="bootstrap-css">
<script src="//maxcdn.bootstrapcdn.com/bootstrap/4.1.1/js/bootstrap.min.js"></script>
<link rel="stylesheet" href="https://unpkg.com/placeholder-loading/dist/css/placeholder-loading.min.css">
<script src="js/load_content.js"></script>
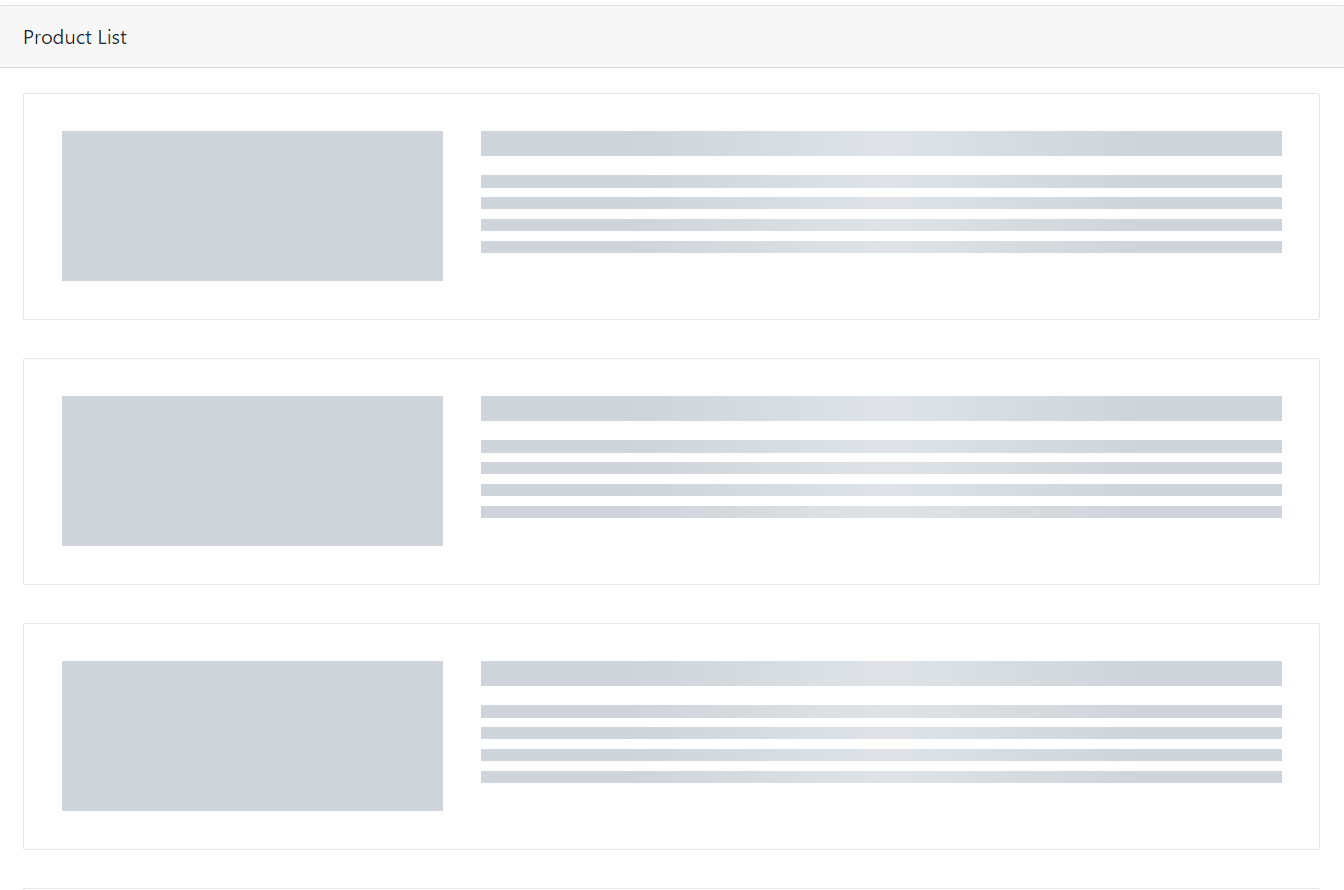
Step3: Display Skeleton Effect
In index.php file, we will create HTML to display Skeleton loading effect HTML and load product list.
<div class="content">
	<div class="container-fluid">
		<div class="card">
			<div class="card-header">Product List</div>
			<div class="card-body" id="results">
			</div>
		</div>
	</div>
</div>
In load_content.js file, we will call function createSkeleton() to display Skeleton effect.
var displayProduct = 5;
$('#results').html(createSkeleton(displayProduct));
We will create function createSkeleton() create Skeleton HTML to display effect.
function createSkeleton(limit){
  var skeletonHTML = '';
  for(var i = 0; i < limit; i++){
	skeletonHTML += '<div class="ph-item">';
	skeletonHTML += '<div class="ph-col-4">';
	skeletonHTML += '<div class="ph-picture"></div>';
	skeletonHTML += '</div>';
	skeletonHTML += '<div>';
	skeletonHTML += '<div class="ph-row">';
	skeletonHTML += '<div class="ph-col-12 big"></div>';
	skeletonHTML += '<div class="ph-col-12"></div>';
	skeletonHTML += '<div class="ph-col-12"></div>';
	skeletonHTML += '<div class="ph-col-12"></div>';
	skeletonHTML += '<div class="ph-col-12"></div>';
	skeletonHTML += '</div>';
	skeletonHTML += '</div>';
	skeletonHTML += '</div>';
  }
  return skeletonHTML;
}
Step4: Display Product
In load_content.js file, we will call loadProducts() function to display product list after displaying Skeleton effect. Here we will load product after five seconds of displaying effect.
setTimeout(function(){
  loadProducts(displayProduct);
}, 5000);
We will implement function loadProducts() and make Ajax request to load products.
function loadProducts(limit){
  $.ajax({
	url:"load_action.php",
	method:"POST",
	data:{action: 'load_products', limit:limit},
	success:function(data) {
	  $('#results').html(data);
	}
  });
}
In load_action.php file, we will check for action load_products and call method productList() to load product.
$product = new Products($db);

if(!empty($_POST['action']) && $_POST['action'] == 'load_products') {
	$product->productList();
}
We will implement method productList() to return product list HTML to display.
public function productList() {
	if(isset($_POST['limit'])){
		$sqlQuery = "SELECT * FROM ".$this->productsTable."
		ORDER BY id DESC LIMIT ".$_POST["limit"]."";
		$stmt = $this->conn->prepare($sqlQuery);
		$stmt->execute();
		$result = $stmt->get_result();
		$productHTML = '';
		while ($product = $result->fetch_assoc()) {
			$productHTML .= '
				<div class="row">
				<div class="col-md-4">
				<img src="images/'.$product["image"].'" class="img-thumbnail" />
				</div>
				<div class="col-md-8">
				<h2><a href="#">'.$product["product_name"].'</a></h2>
				<br />
				</div>
				</div>
				<hr />
				';
		}
		echo $productHTML;
	}
}
You may also like:
- Build Reusable Captcha Script with PHP
- Product Search Filtering using Ajax, PHP & MySQL
- Image Upload and Crop in Modal with jQuery, PHP & MySQL
- Build Push Notification System with PHP & MySQL
- Project Management System with PHP and MySQL
- Hospital Management System with PHP & MySQL
- Build Newsletter System with PHP and MySQL
- Skeleton Screen Loading Effect with Ajax and PHP
- Build Discussion Forum with PHP and MySQL
- Customer Relationship Management (CRM) System with PHP & MySQL
- Online Exam System with PHP & MySQL
- Expense Management System with PHP & MySQL
You can view the live demo from the Demo link and can download the script from the Download link below.
Demo Download